Thursday, July 12, 2012

Felt Flowers #3

My friend Jamie says I'm the only person she knows that has a stock pile of felt...haha! There's nothing wrong with that! How can I NOT when there's so many great projects I can make?!

What you need:
Two sheets of felt 
(one for the flower, and one for the leaves... technically you can use scraps for the leaves. There's NO way you will need a whole sheet!) 
SHARP scissors (like I said last time, you can use dull ones...but you'll be sorry...)
Glue gun
Glue sticks
Paper (I suggest a card stock, because you will be using this over and over)
Pencil

Ready? Okay, first thing you have to do is make your paper pattern. It can be whatever size you like. The larger the template, the larger the flower...the smaller...well surely I don't have to spell it out for you, right? Ok, good. The template is a 8 petal flower design. Draw your template and then cut it out. Mine is about 3" wide.
Now, take your felt sheet and cut a strip as wide as your template, and long enough to get four flower shapes.


I then cut the strip into 4 equal squares. Now, if you have sharp scissors, you can probably cut out two flower shapes at a time, if not, cut out all four shapes one...by...one...(bet you're kicking yourself now for not listening to me about those scissors, huh?) You can cut around the template (which is what I do...cause I'm awesome like that) or you can trace it with a pencil first.
So far, so good, right?
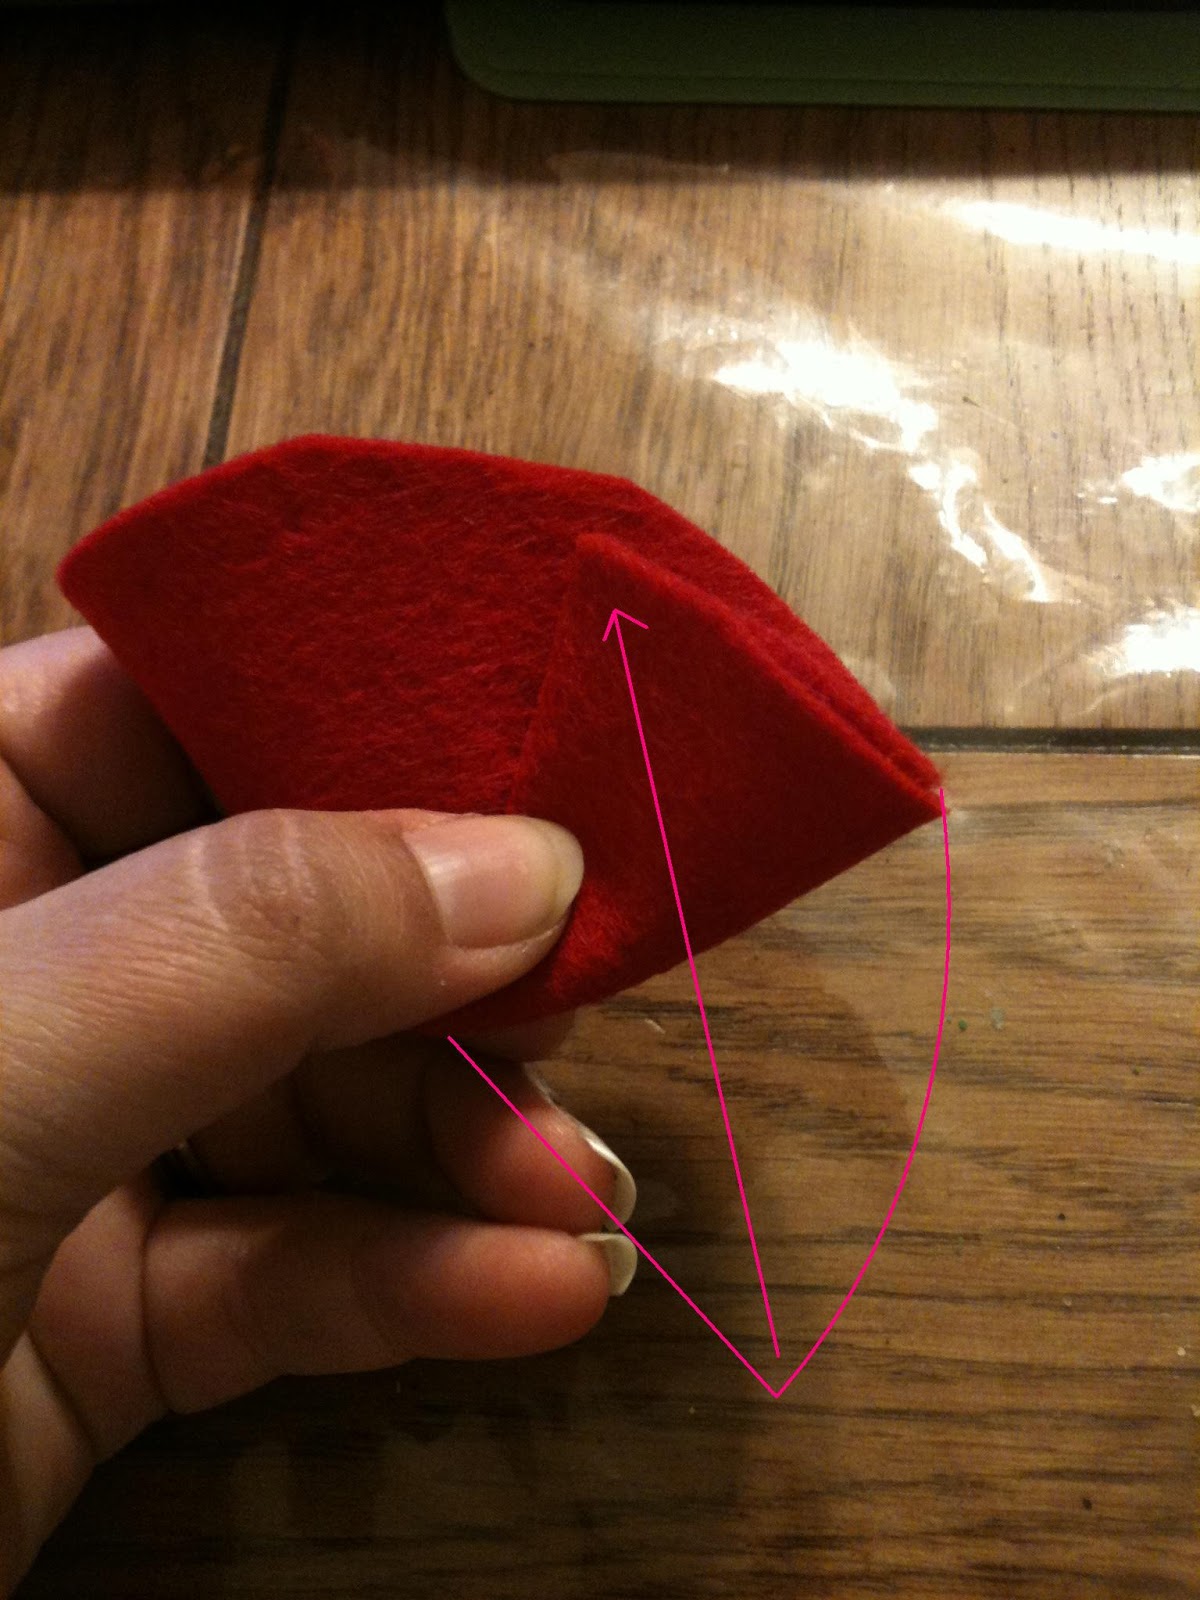
Take one flower shape and fold it in half.
Then fold it in half again. It will have this triangle shape.
In between the second fold, add a dab of hot glue and hold it together.
Repeat for the remaining 3 flower shapes.
Cut a small circle for the base of your flower. This is what holds it together (well, this and glue..)
Begin attaching with glue...all four pieces.
Looks pretty similar to felt flower #2, I know. But now you add some dots of glue to the up-facing petals, and fluff them up and hold them together.
And that's it! Add some felt leaves, or whatever your little heart desires!
Hope it made sense, feel free to comment with any questions. Enjoy!

Couldn't resist sneaking a pic in of it in use. ;)


Monday, July 2, 2012

My Hubby's Home Office

Okay, so I don't know if you would call it a home office, a study, or just his "man room". Whatever it is, I decorated it! I printed a sample image of giraffe print and went from there! I drew the "spots" by hand onto my light beige walls.
Floor to ceiling....
And took a slightly darker beige and filled them in.

ALL...FOUR...WALLS...
And all that was left was to decorate! It was THAT easy...hahaha!
Yes, I know the blue carpet is hideous...my hands were tied, at least I got a rug!
And that's it.

Enjoy!


Saturday, May 5, 2012

Paper Plate Dino


What you need:
Paper plate
Crayons
Scissors
Brads (Not Pitt or Paisley...the metal fasteners in the picture, three to be exact)
Black Marker

Okay, first thing you need to do is get your paper plate. So far, so good? Now, draw a line down the center of your plate. Add four legs to your line.
Next comes the neck, then the tail.

Lastly comes the head. You should have something like this.

Flip your plate over and color.

Flip your plate back over. Cut on black lines ONLY. 
Look familiar??

Okay, let's assemble! Attach the head to the neck with a brad. Then attach the neck to the body in the same fashion.

Attach the tail with your remaining brad.
Now your dino can bend his neck, wag his tail, and reach high for his meal! You can add a face, eyes, toes,whatever floats your boat! 
Enjoy!


Tuesday, April 3, 2012

Easter Gift


Okay, so no step by step pics for this one, not even a great pic! I just wanted to share what I made for my daughter's teacher and helpers in her class. I got a small square vase from the dollar tree and filled the bottom with jelly beans, then a layer of Easter grass, two egg shaped candies, and a peep. Finish it off with a cute little bag and  a bow (you can kinda see it in the back).  TADA! Instant gift! What I wold have liked to have done was get the edible Easter grass so it would all be edible, but I was at the dollar tree. =) I think they sell that at Target. Anyway, hope you like it! Enjoy!

Wednesday, March 28, 2012

3-2-1 Cake!


Okay, so this isn't technically a craft or art project but I just HAD to share! This is a 3-2-1 cake. 


What you need:
One angel food cake mix
One other cake mix (whatever kind you want..I used red velvet mmm...)
Water
Coffee cup
Spoon
Tablespoon measuring spoon
(Frosting optional)

First thing you need to do is get your two boxes of cake mix and combine them in a bag.
From box to bag.

Now, SHAKE IT BABY!
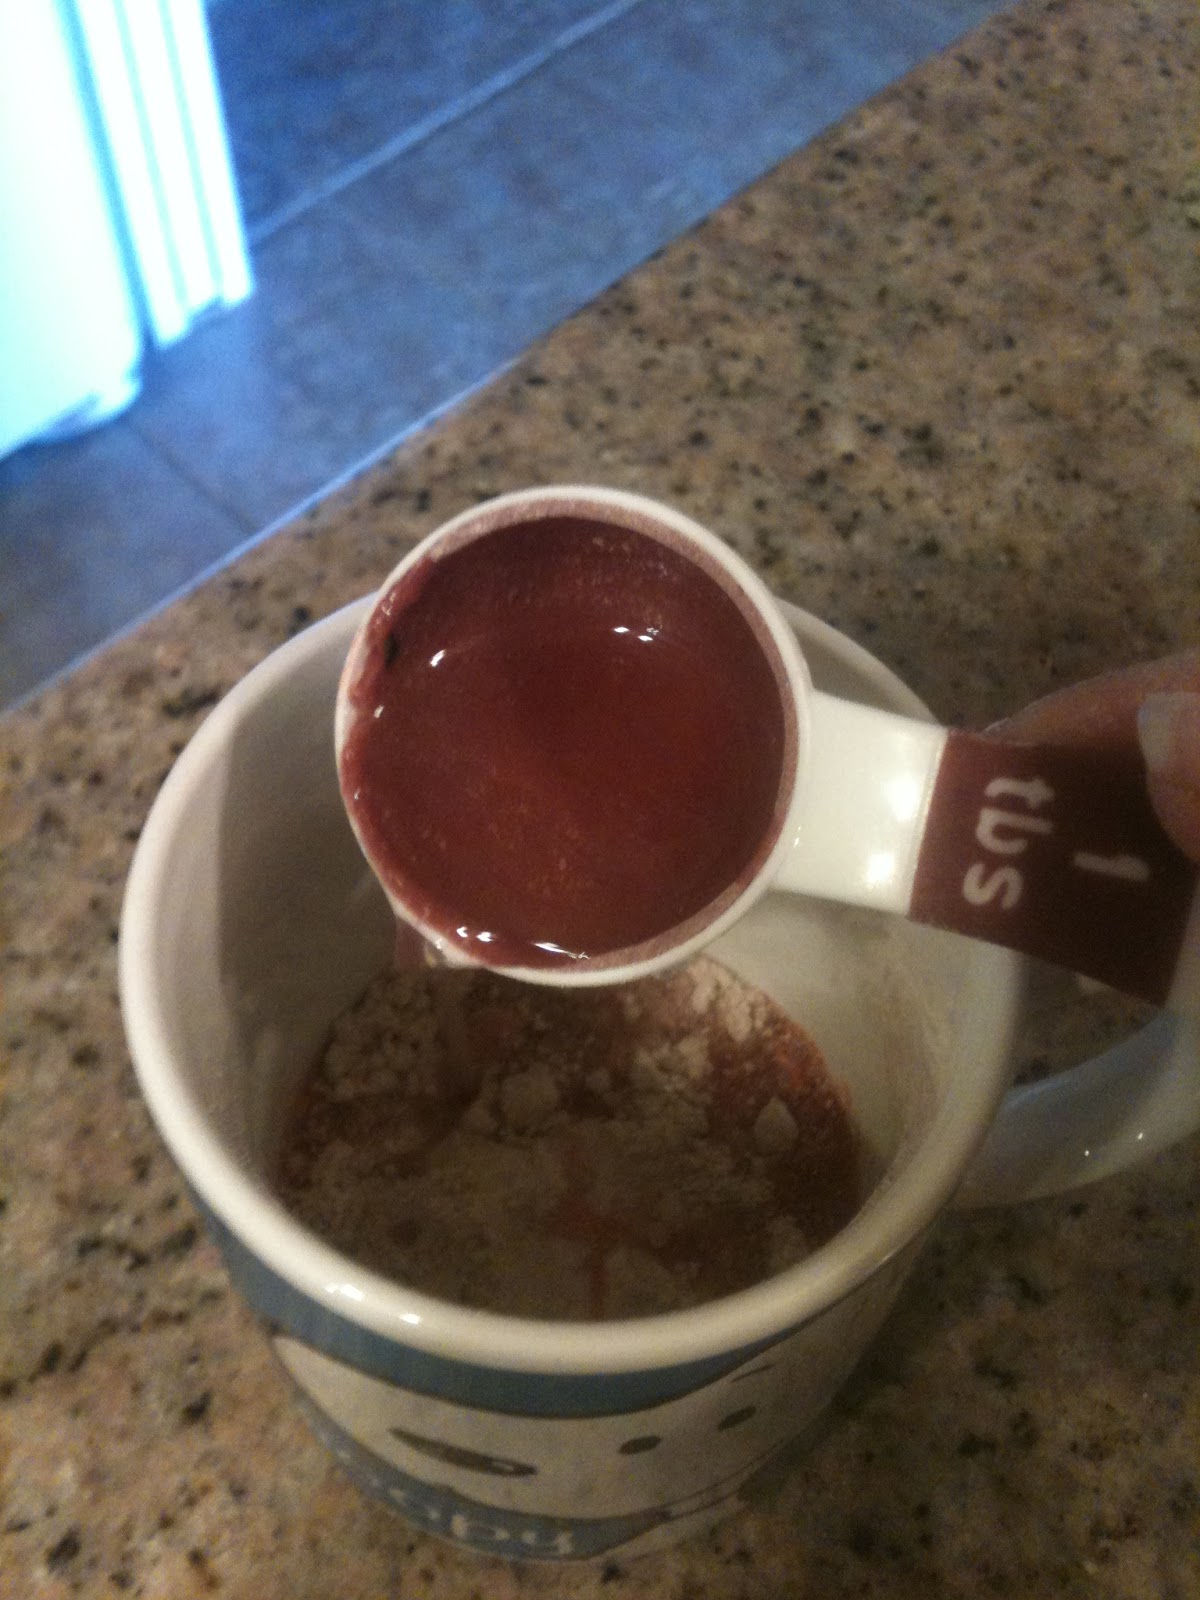
Once it's all combined, get your mug ready. Add THREE tablespoons of your mix into your coffee mug.
"Is that a Snoopy coffee mug??" Yes, yes it is.
Now add TWO tablespoons of water.

Stir with a spoon...

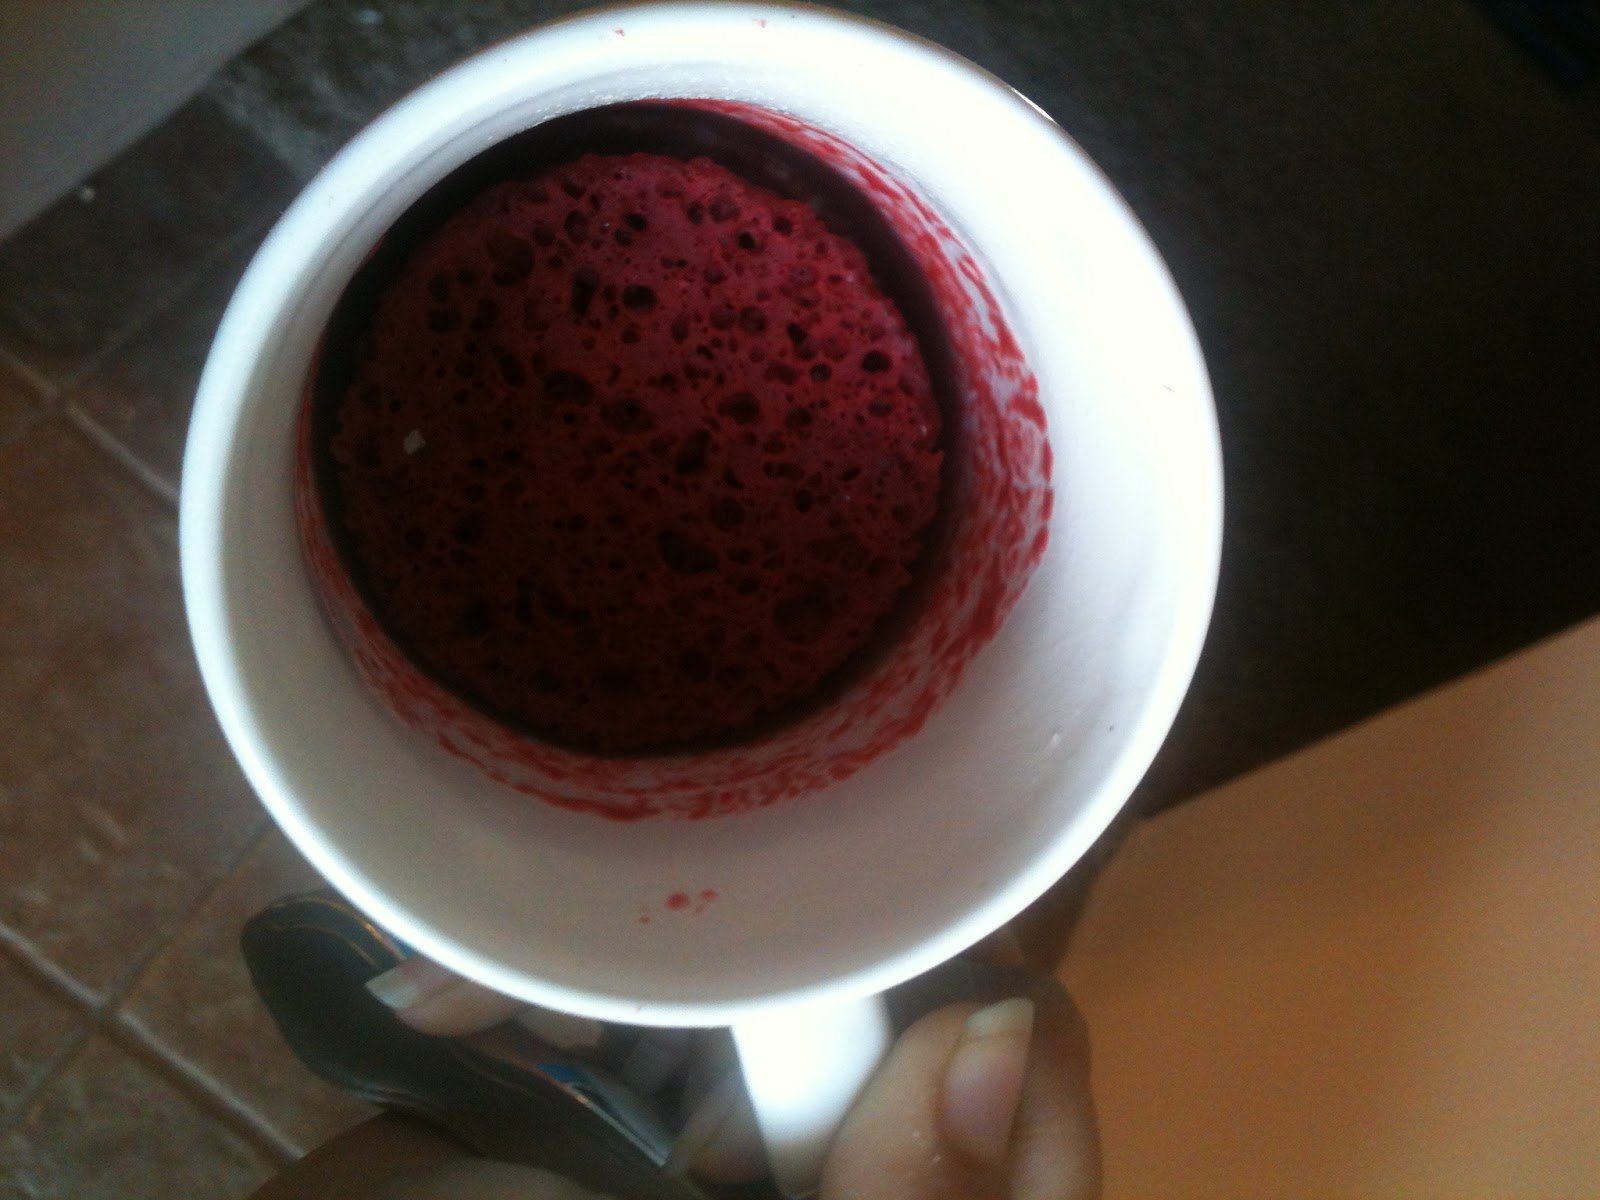
Pop in the microwave for ONE minute and....
TADA!!! 3-2-1!!!

Now, you can enjoy it as is or if you are like me and feel it's a crime to have a red velvet cake without cream cheese frosting...you can add a smear of frosting. 


Without the frosting this is just a couple ww points plus. It depends on the cake you choose, but the other MUST be angel food for this to work. With frosting, just calculate your points. I used 1 tablespoon of cream cheese frosting, 2 points plus. It's great for unexpected guests or as a lower point dessert.

ENJOY!!!!!!!


Monday, March 19, 2012

Felt Flowers #2!

Okay, so these are totally different than the felt flowers I have made before, but the common thread is felt!

 What you need:
One or two (depending on your circle size) sheet(s) of felt (like the ones from Michael's or Walmart...not sure what size that is)
Sharp scissors (you can use dull...you'll just regret it, TRUST me)
Pencil
Glue gun (and glue sticks...hey, you can't say I didn't tell ya)
Button
Something circular to trace (cup, ribbon spool, I used a coaster)
Hair clip or pin (depending on what you decide to do with your flower)


So, let's do this! Start by tracing your circles on your felt. You will need 6 larger circles total, and one small circle of  felt. 

Just in case you need to know what 6 circles look like...haha
Take one circle at a time and repeat the following steps for all six larger circles. Fold your circle in half. It should look like a taco, if that helps.
Now, take one of the corners and fold it up to make a triangle shape.
Now, fold the opposite corner behind. You should get an "S" shape.
Do you sssssee it? Good. Now you will need to secure the folded circle by adding some glue at the folds.
I was able to capture this step thanks to the help of my lovely assistant, my sister in law, Sarah.
Okay, now that it is secure, you can attach the triangle to the smaller circle with your glue gun. Repeat with all six circles.
It should look like this.
Almost done! Now you can attach your button. I glued mine on but you can sew it if you like. If you want, you can add a jewel or any other center instead.
Lastly, add your clip or pin and tada!
Gorgeous! And a shout out to my mom in the background. =)


Enjoy!