Friday, February 24, 2012

Letter Art

What you need:
Buttons (all sizes)
Wooden Letter
Ribbon
Paint
Paint Brush
Glue Gun
Scissors

Okay, so I don't have step by step picture instructions on this project, but it's pretty self explanatory.

 Paint your wooden letter. Get buttons of all shapes and sizes, and hot glue them on! You can do a pattern, or a design, just have fun! Once you're done, cut ribbon and attach it to the top to hang your letter. If you are wanting a more...masculine look, you can leave off the ribbon and add a picture hanger on the back.
Enjoy!

Tuesday, November 22, 2011

Toilet Paper Tube Turkey

What you need:
Toilet paper roll (the one I used is about half as tall as a regular one)
Brown Paint
Scissors
Glue
Black and Red Marker
Orange, Yellow, Red, and Brown Construction Paper

First things first, paint your toilet paper roll brown and allow it to dry. Next, cut our the shape for your turkey's head. Add beak. Draw on face.


Now cut out the three tail feathers. The feathers will get gradually smaller, but the same width at the base. 


Layer the three feathers and glue together.


Attach the head, wings,  and feathers to the toilet paper roll.


Cute on your table or even as a napkin ring!

Enjoy!


Friday, November 11, 2011

Turkey Wreath

Here's a fun one to do with your little turkey!

What you need:
Red, green, yellow, orange, and brown construction paper
Scissors
Glue
Paper plate
Marker
Google eyes

Step 1: Get a paper plate and cut out the middle.

So far so good?
Next, cut out your turkey shape. The kids where I work were quick to point out the fact that my turkey body is very similar to a bowling pin =)

Now that you have your body, cut out your feet beak and waddle and glue on. Don't forget the eyes!

Attach your turkey to the bottom of your paper plate. DO NOT attach the turkey's head to the top of the plate...I promise it will all make sense later....just trust me on this one.

Now it's time to make the paper strips that will become the "feathers" for your gobbler.
Cut strips out of your red, green, orange, and yellow paper 1"x6" (about).  The more strips, the fuller the feathers will look. I used about 4 of each color (that's about 16 altogether...just thought I'd help you out).
Cut a slit on the top about halfway through the paper and on the bottom in the opposite direction.

Take the two slits and fit them together to form tear drop shape.

This step can be skipped if you just feel like gluing the two ends together...but you will have to hold it together til  it drys before you can put it on the turkey...and with a group of kids, this way was MUCH faster!
Okay, time to start adding your feathers! I did mine in a sort of overlapping "V" patter, but it's your project, go crazy!

Once you have all your feathers on, cut out two wings for your feathered friend. Bend the rounded side of the wing. This will be where you attach it to your turkey, and it makes it pop out.
Attach your wings, make a cute little sign for your turkey to hold, and TADA! A totally terrific turkey! Hang him on a door knob, or on the wall, it's your choice. Enjoy!


OOOHH! I almost forgot! The reason you don't attach the head of the turkey to the plate is so you can add feathers all the way around! See, I told you I knew what I was talking about! ;)


Wednesday, October 19, 2011

Hand print spider

What you need:
Black paint
Scissors
Glue
Black, blue and red construction paper
Pencil
Google or sticker eyes

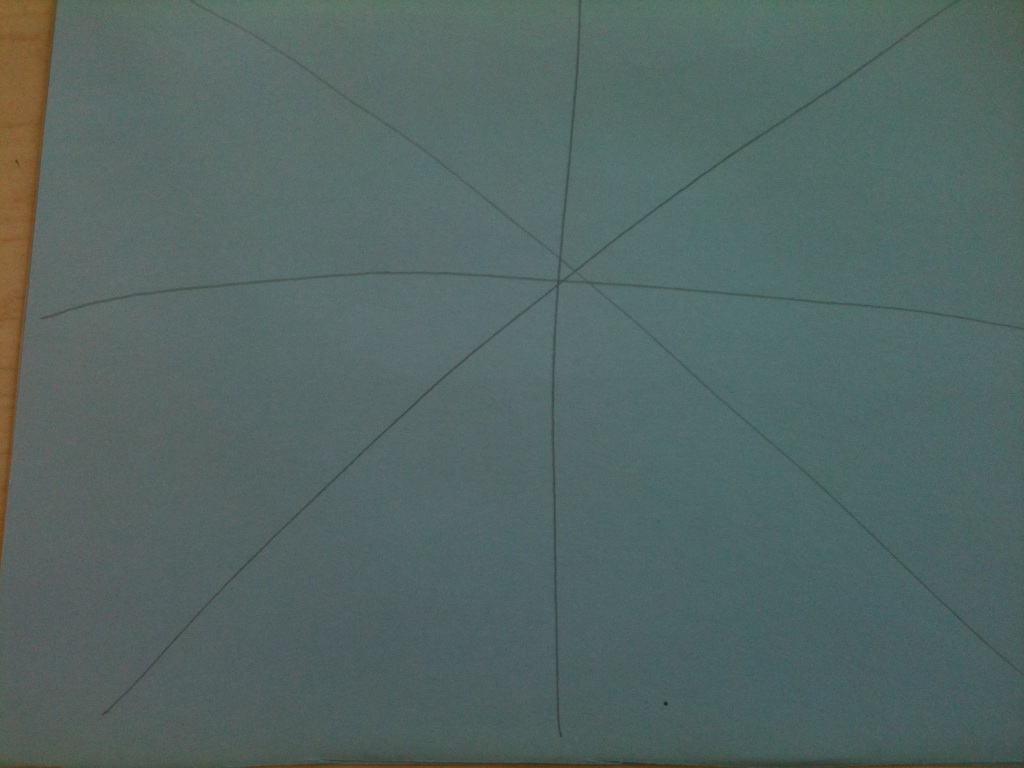
This one is fun for the kiddos! Who doesn't love to paint their hands?? Take your base paper (I am using light blue) and draw a line from top to bottom, side to side, and corners to diagonal corners.
Next, make an arch from line to line making your spider web design.

Now comes the fun part! Paint one hand with the black paint. Be sure not to paint your thumb! Push hand on paper to make one side of your spider. 

Repeat for other side. Make sure you don't paint your thumb! Place palm over palm and press hand to paper.
Make a circle the size of your palm print and glue it to the center of the hand prints (this is the abdomen).
Make a smaller circle for the head and glue it on. Add eyes ( I used stickers, but google work too). 
I made an hour glass shape to glue on the back to make the spider a black widow, but my little helper decided she liked it better as a hair bow =) Some of the boys decided it was best for a bow tie. This is where your kid's creativity really shines! Add a mouth too if you like! Enjoy!


Friday, October 14, 2011

Paper Strip Pumpkin

What you need:
Orange green and brown construction paper
Brads (2)
Scissors
Pencil

This was one of the projects we did at work last week. Take a piece of orange construction paper and fold it into 6 equal strips.
Next, have the kids cut down the fold lines so you have six strips of paper.
Now, stack the paper in a pile. I like to make a dot on the ends of the paper where the brads are supposed to go through. Make the dots on both ends of the paper strips.
Push the brad through all the papers one at a time where the dot is. Careful, they're sharp!  When the brad is through all the papers open the back to secure it.
Take the green construction paper and have the kids trace their hand and cut it out. Also, make  a stem shape out of the brown construction paper and cut that out. Add the dot where the brads go.

Now it's time to layer! Put the brad through the stem, then the hand print, and finally through the other end of the orange strips. Make sure you open the brad on the other side.

Take the strips and start pulling them apart until all six make a circular shape.
Bend the stem up and tada! Some of the kids used black construction paper and cut out triangles and a smile to make their pumpkin a Jack-o-Lantern. Enjoy!


Wednesday, October 12, 2011

Dracula and Frankenstein

What you need:
Dracula
purple, black, and white construction paper
black marker
Glue
Scissors 
Dracula shapes (which I am trying to get for you guys)

Frankenstein
Green and grey construction paper
Green glitter
Black tissue paper
Black marker or crayon
Glue
Scissors
Google eyes
Frankenstein shapes (which again, I am trying to get for you guys)


Okay, again, this isn't my project. My very talented co-worker has art this week (and yes, she said I can post pics). This week the kids made Dracula and Frankenstein. Unfortunately all I have to offer you are these pictures. If I can figure out how to download a template that will print actual size I will, but for today, this is it. Once you have your shapes cut out, you just glue them together! For Frankenstein's hair, you use the tissue paper technique discussed in the Eyeball post. Other than that it's all just look and assemble. Although it seems like all the project will be identical, they rarely are! Ever Dracula and Frankenstein will have a personality all their own simple by changing the eye placement, eyebrows, mouth....the possibilities are endless to make them different! In the picture below, the young girl decided her Frankenstein needed a blue hair stripe. Some kids decided their Frankenstein was a "Fran"enstein!  Encourage your kids to get creative! Enjoy!

Monday, October 10, 2011

Paper Plate Eye Ball

What you need:
paper plate
pencil
tissue paper (black, white, and whatever color you want for the iris)
glue
scissors
red crayon

This one I can't claim for my own. My very talented co-worker did this fun project for art today. First you take your paper plate and draw a circle to make your pupil. You can make two smaller circles inside to make the glimmer ;)
Now, cut your tissue paper into small 2" squares. 
Ms. Crissenda chose these awesome colors to put out for the kids to choose from. Use the white tissue paper to fill in the two smaller circles (the "glimmer"). 
To apply the tissue paper squares, you have two options...well, two that I am telling you about. #1 Apply glue to the circle. Scrunch the tissue paper and press onto the plate.
#2 Apply glue to the circle. Take the eraser end of your pencil and wrap the tissue paper around the top and scrunch it. Press the flat end into the glue and pull pencil away.
Now that the two smaller circles are done, continue the same process for the black pupil and colored iris. Lastly, take your red crayon and draw the veins. Tada! A spooky craft that's fun for kids. Enjoy!